Master Balancing Heating Systems for Optimal Comfort
Balancing your home heating system is about more than just comfort. Uneven radiators and temperature swings can waste up to 35 percent more energy each year. Most people just crank up the thermostat and hope for the best, but that only masks the real problems. True control comes from understanding the science behind each step and, surprisingly, a few minutes of careful inspection can uncover issues that most homeowners never even notice.
Table of Contents
- Step 1: Assess Your Current Heating System
- Step 2: Identify Problem Areas In Your Home
- Step 3: Check Radiator Valves And Settings
- Step 4: Balance The Radiators For Even Heat Distribution
- Step 5: Test And Verify Heating System Performance
Quick Summary
| Key Point | Explanation |
|---|---|
| 1. Conduct a thorough assessment | Inspect your heating system visually to identify issues like uneven temperatures or leaks before making adjustments. |
| 2. Identify thermal problem areas | Perform a room-by-room thermal check to find cold spots and potential insulation weaknesses impacting heating efficiency. |
| 3. Adjust radiator valves properly | Ensure each radiator valve is functioning smoothly and set according to the heating needs of different rooms to optimise comfort. |
| 4. Balance radiators for uniform heat | Systematically adjust lockshield valves for each radiator to achieve an even temperature distribution throughout your home. |
| 5. Test system performance post-balancing | Run the heating for 30 minutes to confirm improvements, noting any remaining cold spots that may require further adjustments. |
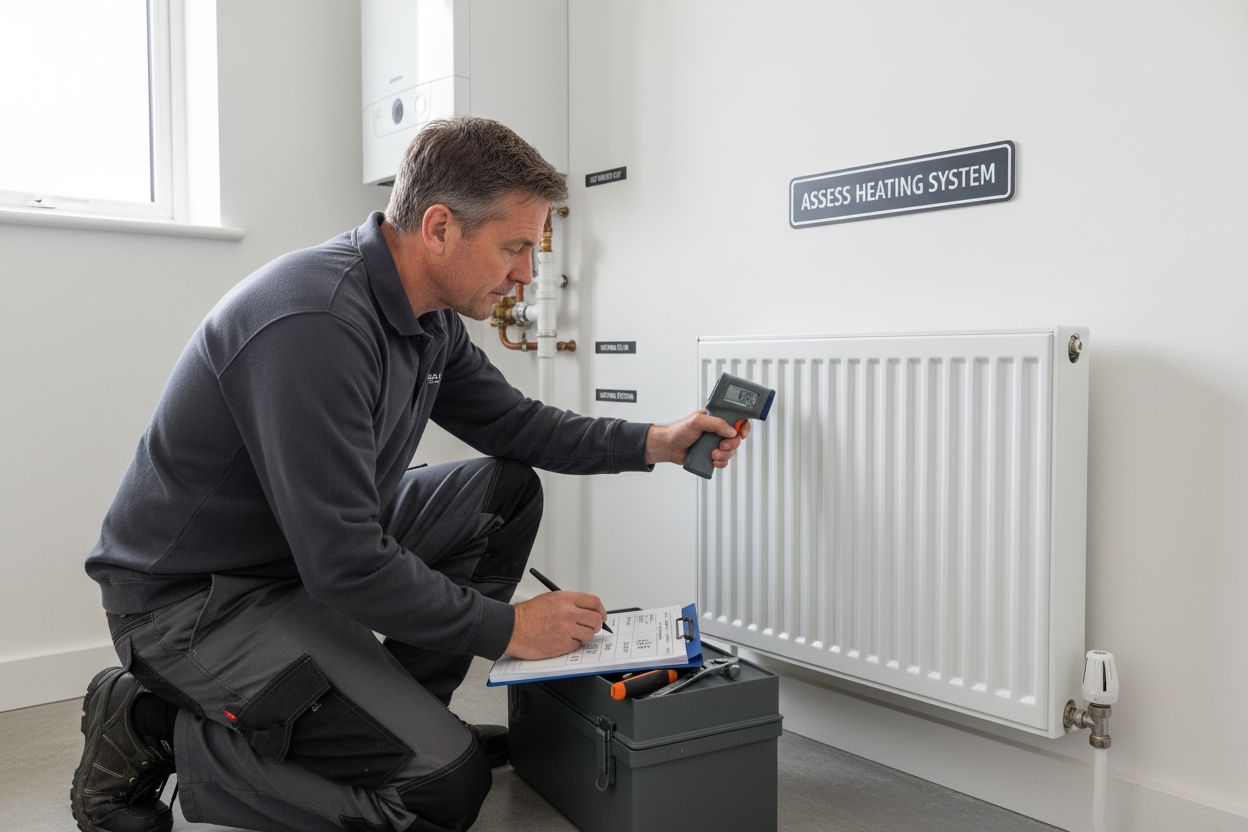
Step 1: Assess Your Current Heating System
Balancing heating systems begins with a thorough assessment of your current setup, a critical foundation for achieving optimal home comfort and energy efficiency. This initial step requires methodical examination and understanding of your existing heating infrastructure.
Start by conducting a comprehensive visual inspection of your entire heating system. Walk through each room and observe your radiators, paying close attention to their performance and temperature distribution. Uneven heating indicates potential balancing issues that need addressing. Feel each radiator top and bottom to determine if there are significant temperature differences, which could signal trapped air or circulation problems.
Your visual inspection should include examining the boiler, pipework, and radiator connections. Look for signs of corrosion, unusual discolouration, or evidence of water leakage. Older systems often develop sediment and debris that impede efficient heat transfer, so identifying these early can prevent more significant problems. Learn more about professional heating system assessments to understand what professionals recommend during these evaluations.
Next, gather critical information about your heating system’s specifications. Check your boiler manual or manufacturer documentation to understand its make, model, and recommended maintenance schedule. Note the age of your system, as heating technology advances rapidly, and older systems are typically less efficient. You might want to read our guide on heat pump installation if you are considering upgrading to a more modern, energy-efficient solution.
To complete your assessment, document your findings systematically. Create a simple record that includes:
- Radiator temperatures at different points
- Visible system condition and potential wear areas
- System age and current efficiency rating
- Any unusual noises or performance irregularities
This documentation serves as a baseline for your subsequent balancing efforts and can help professional technicians quickly diagnose any underlying issues.
Here is an overview of the key tools and materials mentioned in the article that are required for balancing your heating system, along with their purposes.
| Tool/Material | Purpose | Notes |
|---|---|---|
| Digital thermometer | Accurately measure radiator surface and pipe temperatures | Essential for both assessment and balancing steps |
| Adjustable wrench | Adjust lockshield valves on radiators | Used during the radiator balancing process |
| Infrared thermometer | Measure surface temperatures on walls, radiators, and windows | Useful for investigating thermal performance room by room |
| Radiator bleeding key | Release trapped air to ensure proper heating | Optional but recommended during initial inspection and balancing |
| Lubricant (lightweight) | Free up stiff or stuck radiator valves | Only apply if valves are difficult to adjust; avoid overuse |
| Boiler and heating manual | Reference system specifications and maintenance | Helps identify make, model, and optimal settings |
| Notebook or digital log | Record findings and settings throughout the process | Important for documentation and comparison over time |
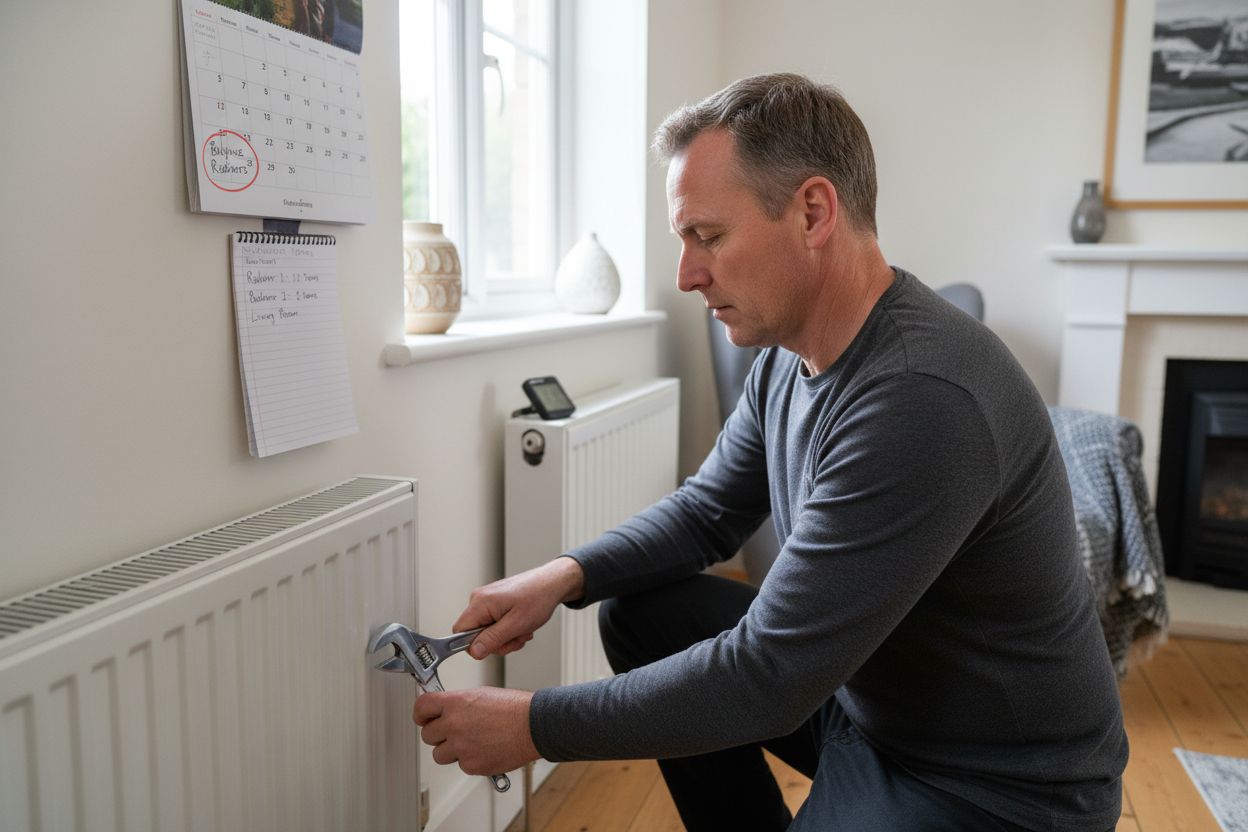
Step 2: Identify Problem Areas in Your Home
After assessing your heating system, the next crucial step is identifying specific problem areas that compromise your home’s thermal efficiency. Understanding where heat escapes and how different zones perform will dramatically improve your balancing heating systems strategy.
Begin with a systematic room-by-room thermal investigation. Cold spots and temperature variations reveal critical insights into your home’s heating challenges. Stand near windows, doors, and exterior walls, feeling for noticeable temperature drops. Pay special attention to older properties where insulation might be inadequate or deteriorating. Draught proofing experts recommend examining potential heat loss points carefully to understand your home’s unique thermal characteristics.
Utilise simple diagnostic tools to enhance your investigation. A basic infrared thermometer can help you precisely measure surface temperatures across different areas. Hold the device several centimetres from walls, windows, and radiators to capture temperature variations. Significant temperature differences of more than 3-4 degrees indicate potential thermal bridging or insulation problems. These variations suggest where your heating system must work harder to maintain consistent comfort.
Consider performing a more comprehensive thermal assessment by checking specific zones that typically cause heating inefficiencies. Windows with single glazing, poorly sealed door frames, loft spaces with minimal insulation, and uninsulated cavity walls are prime suspects for heat loss. Create a detailed sketch or digital map of your home, marking areas with notable temperature inconsistencies. This visual representation will serve as a valuable reference for future improvements and help you prioritize balancing interventions.
To document your findings effectively, compile a room-by-room thermal performance log that includes:
- Specific temperature readings at different points
- Observed draft locations
- Areas with significant temperature variations
- Potential insulation weaknesses
This methodical approach transforms a generic heating system balance into a targeted, room-specific strategy. By precisely identifying problem areas, you are preparing the groundwork for more advanced heating system optimization techniques in subsequent steps.
Step 3: Check Radiator Valves and Settings
Radiator valves are the critical control points in your heating system, determining how heat flows and distributes throughout your home. Proper valve adjustment is fundamental to balancing heating systems effectively, ensuring each room receives appropriate warmth without unnecessary energy waste.
Thermostatic radiator valves (TRVs) allow individual room temperature control, making them powerful tools for optimizing home comfort. Examine each valve carefully, checking for smooth operation and any signs of calcification or mechanical wear. Gently turn the valve head to confirm it moves freely between settings. Some valves have numbered settings ranging from 1 to 5, with lower numbers representing cooler temperatures and higher numbers indicating more heat.
Your valve adjustment strategy should reflect each room’s specific heating requirements. Living areas and frequently used spaces typically need higher settings, while bedrooms and less occupied rooms can operate at lower temperatures. Heating experts recommend systematic valve adjustment to maximize both comfort and energy efficiency. Be methodical in your approach, making incremental changes and observing the results over several days.
Pay special attention to valves that seem stuck or difficult to adjust. These might indicate underlying issues such as limescale buildup or mechanical deterioration. In such cases, you may need professional intervention to restore proper functionality. Smooth valve operation is essential for precise heating system balance. Consider applying a small amount of lightweight lubricant to valve stems if they appear stiff, but avoid over-lubricating which can attract dust and debris.
To ensure comprehensive valve management, create a detailed record of your adjustments:
- Current valve settings for each radiator
- Room temperatures before and after adjustments
- Any observed performance changes
- Valves requiring potential maintenance
This methodical documentation transforms valve checking from a simple maintenance task into a strategic approach for optimizing your home’s thermal comfort. By carefully managing radiator valves, you are taking a significant step towards creating a more efficient and responsive heating system that adapts to your specific living environment.
Step 4: Balance the Radiators for Even Heat Distribution
Balancing heating systems requires precise radiator adjustment to ensure consistent warmth throughout your home. This critical step transforms uneven heating into a harmonious thermal environment where each room receives the appropriate amount of heat.
Balancing begins with understanding your home’s unique heating dynamics. Start by turning off all radiator valves and your central heating system. This reset allows you to approach each radiator systematically. You will need a few essential tools: a digital thermometer, an adjustable wrench, and optionally a radiator bleeding key. Heating system experts recommend a methodical approach to radiator balancing that considers each room’s specific requirements.
Locate the lockshield valve typically found at the opposite end of the radiator from the thermostatic valve. This valve controls water flow and is crucial for precise heat distribution. Remove the protective cap and use your adjustable wrench to make incremental adjustments. The goal is to create a consistent temperature difference between the pipe entering and leaving the radiator. For most systems, this means achieving a 12-degree temperature variation, which indicates optimal water flow and heat transfer.
Proceed room by room, measuring radiator pipe temperatures at both inlet and outlet points. Rooms further from the boiler typically require more open lockshield valves to compensate for reduced water pressure. This counterintuitive approach ensures that distant radiators receive sufficient heat. Take your time with each adjustment, making small changes and allowing the system to stabilize before taking new measurements.
To track your balancing progress effectively, document your findings comprehensively:
![]()
- Initial radiator pipe temperatures
- Lockshield valve starting and final positions
- Temperature differences between inlet and outlet
- Observations about heat distribution in each room
Complete the balancing process by turning your heating system back on and observing performance over several hours. Pay attention to how quickly rooms reach desired temperatures and whether any areas still feel inconsistent. Successful radiator balancing creates a uniform heating experience, reducing energy waste and improving overall home comfort. Your methodical approach transforms an often overlooked maintenance task into a strategic home heating optimization.
Step 5: Test and Verify Heating System Performance
After carefully balancing your heating system, verification becomes the crucial final step to ensure your efforts have produced the desired outcome. This comprehensive testing phase confirms that your adjustments have transformed your home’s thermal environment into an efficiently regulated space.
Systematic testing reveals the true effectiveness of your heating system balance. Begin by running your central heating at full capacity for approximately 30 minutes, allowing sufficient time for thermal stabilization across all rooms. Heating experts recommend thorough performance assessments to validate system modifications. During this test period, use a digital thermometer to measure temperatures in different areas, comparing them against your initial assessment from earlier steps. Note any persistent cold spots or unexpected temperature variations that might indicate remaining balancing challenges.
Pay particular attention to rooms that previously experienced uneven heating. Walk through each space methodically, feeling radiator surfaces and noting temperature consistency. Radiators should warm evenly from bottom to top, with no significant cold zones. If you discover lingering temperature disparities, you may need to readjust lockshield valves or investigate potential obstructions in your system. Sometimes, minor additional tweaks are necessary to achieve optimal performance. Our annual boiler servicing guide offers additional insights into maintaining consistent heating performance.
Documenting your test results provides valuable long-term insights. Create a comprehensive record that captures:
- Room-by-room temperature readings
- Duration of heating cycle
- Boiler performance metrics
- Any observed irregularities
- Comparison with previous system performance
Successful heating system balancing manifests through several key indicators: uniform room temperatures, reduced energy consumption, improved comfort levels, and more consistent heat distribution. If your testing reveals significant discrepancies, do not be discouraged.
Below is a checklist table to help you verify that your heating system balancing has been successful, based on the evidence and outcomes described in the final testing step.
| Verification Step | What to Look For | Indicates Success If… |
|---|---|---|
| System run for 30 minutes | Allow system to stabilise after adjustments | All radiators and rooms have warmed evenly |
| Room-by-room temperature measurements | Use thermometer in each room | Temperatures are consistent, with no major cold spots |
| Radiator surface check | Feel radiators from top to bottom | Radiators are uniformly warm, no significant cold zones |
| Observation of previous problem areas | Pay special attention to formerly cold rooms | Previously cold areas now reach comfort temperature |
| Duration of heating cycle logged | Track how long rooms take to heat up | Heating cycle duration is reduced or optimised |
| Boiler performance noted | Listen for noises, monitor operation | Boiler operates smoothly, no irregularities |
| Documentation and comparison | Compare with initial assessment | Notable improvements are recorded in your log |
Ready to Achieve Perfect Home Comfort and Efficiency?
Are you struggling with uneven heating, fluctuating room temperatures, or a system that never quite feels right? This article on balancing heating systems highlights the real frustrations that come from cold spots, inefficient radiators, and unexpected energy costs. But you do not need to tackle these challenges alone. Expert help is available to bring you lasting comfort and peace of mind.
Turn your knowledge into difference-making action today. The accredited team at Thermatek Heating provides professional heating system balancing, boiler servicing, and smart upgrades for homes across Edinburgh and Midlothian. Our Gas Safe Registered engineers ensure every radiator, valve, and zone of your home is optimised for safety, energy savings, and reliable warmth. If you are ready to replace old components, consider our boiler servicing options or explore cutting-edge heat pump installation for maximum efficiency. Book your free quote today on thermatekheating.co.uk and take the first step towards truly balanced, comfortable living.
Frequently Asked Questions
What is the first step to balance my heating system?
Start by conducting a comprehensive assessment of your current heating system. This includes inspecting radiators, checking temperatures, and examining the boiler and pipework for issues such as corrosion or leaks.
How do I identify problem areas in my home related to heating?
Perform a room-by-room thermal investigation, checking for cold spots and temperature variations. Use tools like an infrared thermometer to measure surface temperatures and identify areas of significant heat loss, such as windows and poorly insulated walls.
Why is it important to check radiator valves and settings?
Radiator valves control heat flow in your home. Properly adjusting them ensures that each room receives adequate warmth, improving comfort and energy efficiency while preventing unnecessary energy waste.
What should I do after balancing my radiators?
After adjusting the radiators, run your heating system at full capacity for about 30 minutes. Measure temperatures in different rooms to verify that your adjustments have achieved uniform heating and make further tweaks if necessary.